Optimising images correctly is one of the most important things you can learn in order to keep your website in tip top condition.
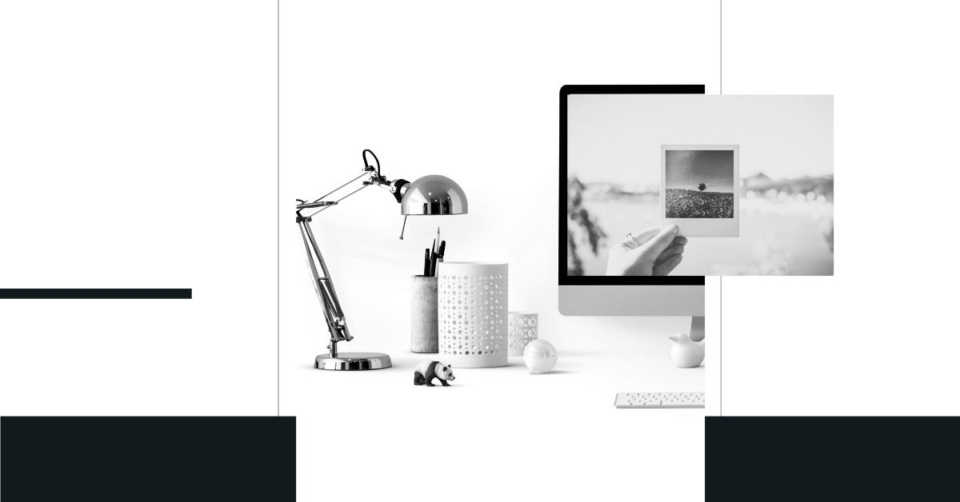
Images are a crucial part of your website. We live in a visual world and they form an important ingredient when people are consuming content online.
There are many, many reasons why you would, and should use imagery in your posts and articles:
- Images serve as visual stimuli for a call-to-action (CTA). A CTA can be any task you want your visitor to perform. Common CTA’s include subscribing to your newsletter, sharing your article over social media or buying your product.
- Images enhance the connection the writer seeks to establish with the reader.
- Images convey more through less.
It is therefore, crucially important that we use the right images in our presentations (blog post, informal report, page content, actual PowerPoint presentation etc.) in order to connect with readers.
But wait! There’s a problem!
Images take up around 63% of the bandwidth used by modern websites, so it is increasingly important that they are properly optimised for performance.
A one second delay in page load times could reduce conversion rates significantly.
People have a short attention spans (one of the downsides of the modern content production rate). Even if you use the right images, if they do not load within the acceptable timeframe, interest is lost.
The majority of sites have the same problem – they use excellent images, but the way the image is served to the visitor is poor. Large size, poor optimisation, incorrect format, unnecessarily large dimensions (sizes), unresponsive images and careless SEO structure, are some of the most common problems the modern web faces. In today’s article, we’re going to give you 10 easy image optimisation tips you can use to avoid these issues.
1. Use The Right Image Format
The format used for the image plays a vital role. As a general rule of thumb, use PNG for vector graphics or images with transparency.
Use JPEG for photographs or images with a variety of colours.
For a detailed explanation, check out this StackOverflow answer.
2. Resize Images To The Right Dimensions
Images for different things, require different dimensions.
For example, featured images for posts 1200x628px.
Post images for my blog are no greater than 800px.
If I was adding full width images to a hero slider or section, I would choose a size of 1920px.
Product images would generally be no more than 800px wide.
Images for the web also never need more than 72dpi resolution.
You don’t need fancy software to do this. You can use the native image preview app on your computer or avail free online tools like ImageResize.org where you can quickly resize and optimise your images. Just upload and tweak your photo settings.
When you’re done download your optimised image to use on your site. They also offer a quick Image Compressor if you just want to cut down on file size.
3. Compress The Resized Image
This is an important step as it allows incredible compression. It can be done in photoshop but there are tools available for Mac and PC that allows you batch compress a folder of files or single files. I personally use ImageOptim and ImageAlpha and achieve significant reductions in file sizes.
- ImageOptim (Mac) allows you to drag whole folders and quickly optimise multiple images.
- Image Alpha (Mac) allows you to greatly compress PNG images with transparency.
- Compressor.io is a free web tool that allows you compress many types of formats by simply dragging and dropping files onto the upload area.
These tools offer different types of compression to suit different types of images:
Lossy (recommended): Huge savings, no visible quality loss. Perfect for web images.
Lossless: Small file size reduction, no loss in quality. Recommended for print and high-res photographs.
In the screencast below, I show how to take a very large image and reduce the size and optimise for the web. As a general rule of thumb, I try to get all my images to under 80kB, with the exception of large full screen images which will always be larger.
4. Name Your Files Correctly
Think about the filename from a search engine’s point of view. Use the same text as you would in the ‘title’ tag of the image. Also, try to include your keywords that are most relevant to your site and the content you are writing about.
5. Complete the ‘Alt’ Attribute
The ‘alt’ attribute describes the image for the search engine. The text you enter in this field will be displayed to the user in case the image cannot be loaded. A lot of people tend to leave these fields blank. This can impact SEO negatively and you could potentially lose out on traffic. You should always try to include your site’s keywords in your images’ alt tag.
6. Add Image Captions
Captions aren’t always necessary, although in some cases, it is required – such as screenshots in a tutorial. Captioning images helps readers understand the topic better, while boosting your SEO.
Conclusion
Correctly sizing and optimising images along with correctly tagging images for SEO is critically important for any website – old or new.
Consistently doing these things over time, will help you maximise your organic traffic which is the best type of traffic for your website.
Need help or have any questions, let me know on email or in the comments below.